6.1 - Export to EC2
In this final lab you will export your Lightsail instance to EC2 and ensure it can still communicate with the RDS database.
Return to the Lightsail console home page
Click on the name of your php-fe-rds instance
From the horizontal menu choose Snapshots
Under Manual Snapshots click + Create snapshot
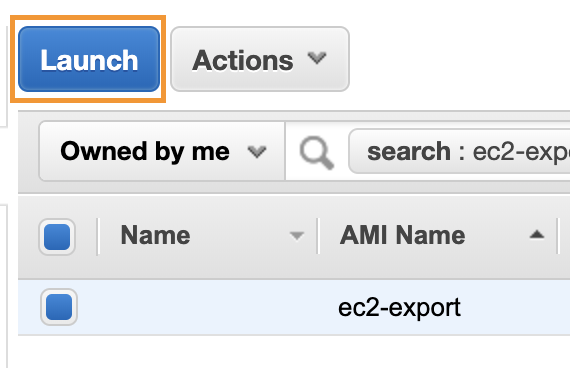
Name it ec2-export
Click Create
Once the snapshot is complete click on the three-dot menu to the right of the snapshot date and choose Export to EC2
Click Yes, continue
Click Acknowledged
You should see the gears start turning at the top of the Lightsail console. The export process can take up to 15 minutes - patience is a virtue.
- Once the export is complete click on Open in the EC2 console. If you have moved away from the console, come back to the Lightsail home page, and click on the gears to find the link to click.
Clicking the link will open the EC2 console, and the Amazon Machine Image (AMI) that was created from the Lightsail snapshot should be created.
Click Launch near the top of the page
At the bottom right of the screen click Next: Configure Instance Details
Ensure that the default VPC is selected

Near the bottom of the screen click Review and Launch
Near the bottom of the screen click Launch
If you have an existing key pair defined, select it. If you do not have an existing key pair, choose Create a new key pair. You will not need this key pair, but you cannot create an instance without specifying one.
Give your key pair a name
Click Download key pair
Click Launch Instance
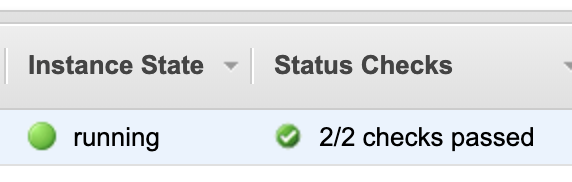
Click on the EC2 instance ID

Wait for the instance state to be Running and the status checks to be green and read 2⁄2 checks passed
Click the name of the EC2 instances security group
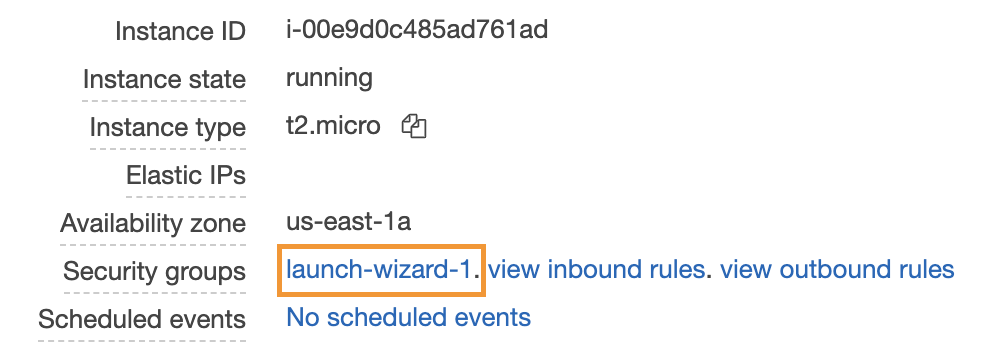
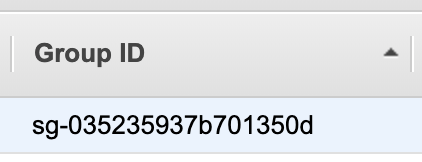
Copy the security group Group ID
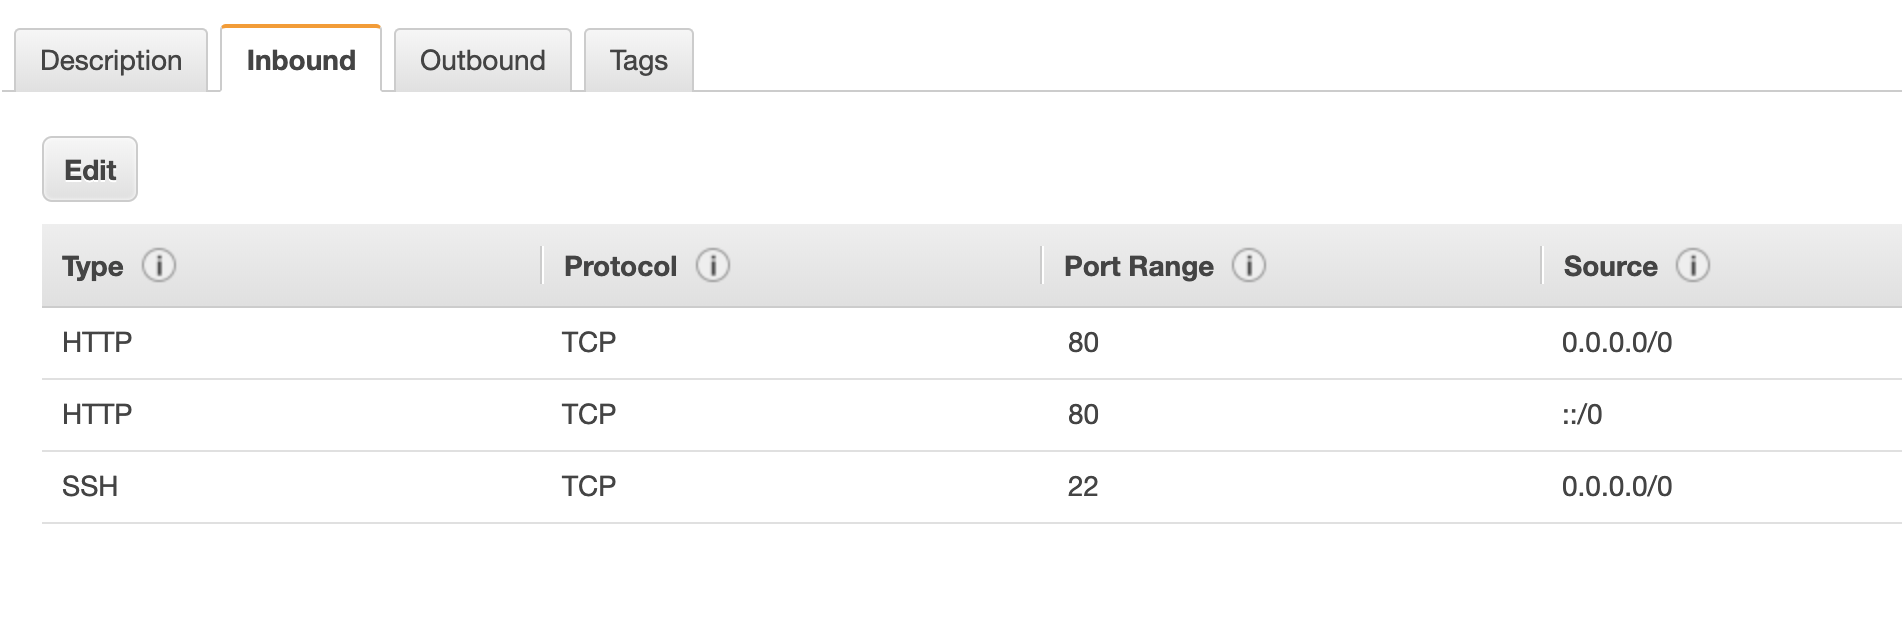
While you’re here you will also need to setup an enbtry to allow this instance to accept http traffic. If you need additional context for the following steps, review what you did in Lab 5.1
Click the Inbound tab
Click Edit
Click Add rule
Choose http under Type
Click Save
As you did for Lightsail you need to update the security group for the RDS database to allow traffic from the EC2 instance. If you need additional context for the following steps, review what you did in Lab 5.1
Open the RDS console in another tab or window, and go to the details page for your RDS database
Click on the name of the security group (Under Connectivity and security on the right hand side of the screen)
Click the Inbound tab
Click Edit
Click Add rule
Choose MySQL/Aurora under Type, and input the EC2 instance’s security group Group ID you copied earlier address under Source
Click Save
Return to the EC2 instance console
From the near the top of the left hand menu click Instances
Copy the public IP of your EC2 instance
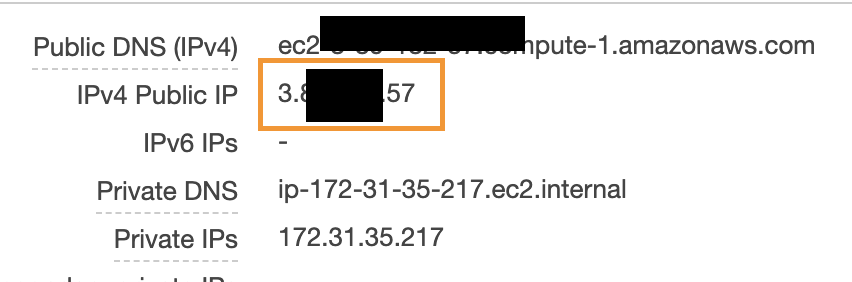
Point your web browser at the public IP and the todo application should appear with the database host value displaying the enpoint of your RDS datase.
That’s the end of the lab be sure to go back and delete all the resources you created:
- 1 EC2 Instance
- 1 RDS Instance
- 1 Lightsail Load Balancer
- 4 Lightsail Instances
- 2 Lightsail snapshots
- 1 Lightsail database
Unfortunately there is no automated way to do this, you’ll need to manually delete each one.